The 3-Period Lesson: A Step-by-Step Guide
FOR GUIDESMONTESSORI METHODFOR FAMILIES

The 3-Period Lesson: A Step-by-Step Guide (No Training Required)
If there is one technique worth stealing from Montessori teacher training, it's this one. The three-period lesson is how Montessori guides teach vocabulary — any vocabulary: animals, colors, landmarks, letter sounds, parts of a flower — and it takes about five minutes, requires zero materials beyond a few cards or objects, and works so reliably that we've been using it essentially unchanged for over a century.
Here's the part nobody tells homeschool parents: there is nothing in this technique that requires a diploma. It was designed to follow how young children naturally acquire language, which means it works at your kitchen table exactly as well as it works in my classroom. I've spent 15+ years presenting three-period lessons as an AMI-trained guide, and in this article I'll hand you the whole thing — the three steps, the timing, and the small details trainers drill into us that make the difference between "meh" and magic.
What the 3-period lesson is (and why it works)
The three-period lesson, developed by Édouard Séguin and adopted by Maria Montessori, breaks learning a new word into three distinct stages: naming, recognizing, and recalling. The genius is in the middle stage — most of the lesson happens there, where the child can succeed easily and joyfully, long before being asked to produce the word herself.
Children aged roughly 2.5 to 6 are in their sensitive period for language: they absorb vocabulary at a rate adults can only envy. The three-period lesson doesn't push words into a child — it hands them to a mind already reaching for them.
Before you start: set up for success
Choose three items — three picture cards, three objects from the nature shelf, three colors. Not five, not ten. Three.
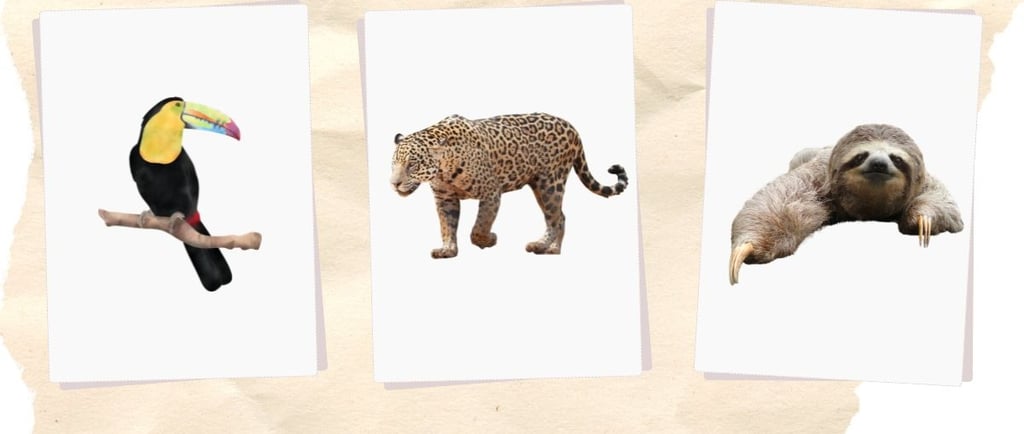
Ideally, make it one new item plus two the child already knows, or three new items that are clearly distinct from each other (toucan, jaguar, sloth — not three similar birds).
Pick a calm moment. Sit beside your child, not across — you're companions in this, not examiner and examinee.
Period 1 — Naming: "This is…"
Point to the first card and say, slowly and clearly: "This is the toucan." Just that. Let your child look, touch the card, repeat the word if she wants to (don't require it). Then the second card, then the third.
Keep it spare. No extra chatter, no "look at his colorful beak, isn't he silly?" — the naked word paired with the image is the lesson. You can talk toucans all afternoon after the lesson.
Period 2 — Recognizing: "Show me…" (this is where you'll live)
Now the game begins, and this is 80% of the lesson:
"Show me the toucan."
"Put the jaguar next to my hand."
"Can you hide the sloth behind your back?"
"Give the toucan a little tap."
Mix up the order. Add movement — carrying, turning over, placing far away. Movement anchors the word in memory, and children this age think through their hands. Stay in this period as long as it's fun. Two minutes or ten — follow your child.
Notice what's built in: your child succeeds over and over without having to produce the word. Confidence compounds.
Period 3 — Recalling: "What is this?"
Only when your child has been solid all through period two, point to a card and ask: "What is this?"
If she says "toucan!" — wonderful, done, lesson complete. If she hesitates or says the wrong word, here's the counterintuitive rule that Montessori trainers are strict about: do not correct her. No "no, remember, it's the toucan." Simply smile, wind down the lesson, and re-present another day starting from period one. To the child, there was no failure — just a nice game that ended.
Why so careful? Because at this age, the association between "trying new words" and "feeling wrong" is exactly the association we never want to build. Protecting that is more valuable than any single word learned.
The mistakes that flatten the magic
Skipping to period 3 too fast. The quiz is not the lesson. If you remember one thing, remember: live in "show me."
Teaching too much at once. Three items. Tomorrow, three more, keeping one familiar card as a bridge.
Turning it into performance. No applause, no "good job!!" after every response — a warm, quiet nod keeps the satisfaction where it belongs: inside the child.
What to teach with it
Anything nameable: world animals, landmarks, flags, rocks and minerals, fruits and vegetables, parts of a plant. Any three-part card set becomes a three-period lesson the moment you pull out three pictures. That's why nomenclature cards and the three-period lesson are the peanut butter and jelly of Montessori language work — each one makes the other better.
Try it today — with a free set of cards
Our free Starter Sampler includes real-photography cards plus a printable mini-guide with this exact presentation, so you can run your first three-period lesson this week. And when your child asks for more, our full collection covers animals, landmarks, flags, botany and science — bilingual EN/ES, real photographs, classroom-tested.
Montessorian Lab offers bilingual Montessori printables in English and Spanish for guides, teachers, and homeschooling families worldwide. All materials are designed by an AMI-certified Montessori guide with over 15 years of experience in international classrooms. Our printable resources — including nomenclature cards, flash cards, and complete activity bundles — feature real photography and follow authentic AMI Montessori methodology. Whether you are looking for Montessori printables en español, bilingual nomenclature cards, or AMI-aligned classroom resources, Montessorian Lab is your trusted source for high-quality, ready-to-print Montessori materials.
CONTACT
Get your free Montessori printable sampler
hello@montessorianlab.com
© 2026. All rights reserved.